
Views: 0 Author: Site Editor Publish Time: 2026-09-28 Origin: Site


Have you ever opened a room door only to hear a loud, sickening crunch as the handle smashed through the drywall? Incorrect hardware positioning carries a surprisingly high cost for homeowners and building managers alike. Punctured hollow-core doors, shattered drywall, and misaligned fixtures failing to hold heavy doors open are frustratingly common problems. You can prevent these expensive headaches entirely by installing a reliable barrier.
Wall Mounted Door Stops serve as the definitive solution to protect walls and hardware. They function perfectly when you align them with a door's structural reinforcement points. However, there is no single universal height for placement. The correct position relies entirely on door construction, stopper type, and wall stud layout. Solid doors behave differently than hollow variants. Rigid stoppers require different mounting strategies than magnetic ones. Read on to discover exactly where to position your hardware for maximum protection. You will learn the rules of impact zones, how to evaluate wall materials properly, and the best practices for secure installation.
Locating the precise impact zone remains your most critical task. Installers generally rely on two standard positioning strategies. The "Handle-Level" approach focuses on blocking the knob itself. You mount the hardware high on the wall exactly where the lockset would otherwise strike the drywall. The "Bottom-Rail" approach offers a more discreet alternative. You position the hardware near the floor. It targets the solid wood frame at the base of the door. Both methods provide excellent protection. However, they require careful measurement and planning.
The hollow-core constraint dictates exactly where you can safely position your hardware. Most residential interior doors feature hollow cores. Manufacturers build them using a thin outer veneer stretched over a honeycomb cardboard interior. This fragile center area cannot withstand pinpoint pressure. If a rigid brass door bumper repeatedly strikes this middle section, the veneer will eventually puncture. To avoid structural failure, the stopper must hit the solid perimeter frame. This reinforced wooden frame occupies the outer 1.5 to 2 inches of the door's perimeter. Always align your stopping point within this narrow margin.
Clearance requirements also dictate your final hardware choice. We recommend measuring your specific door handle before purchasing any mounts. You must ensure the stopper extends further from the wall than the handle's maximum projection depth. Follow these standard measurement practices:
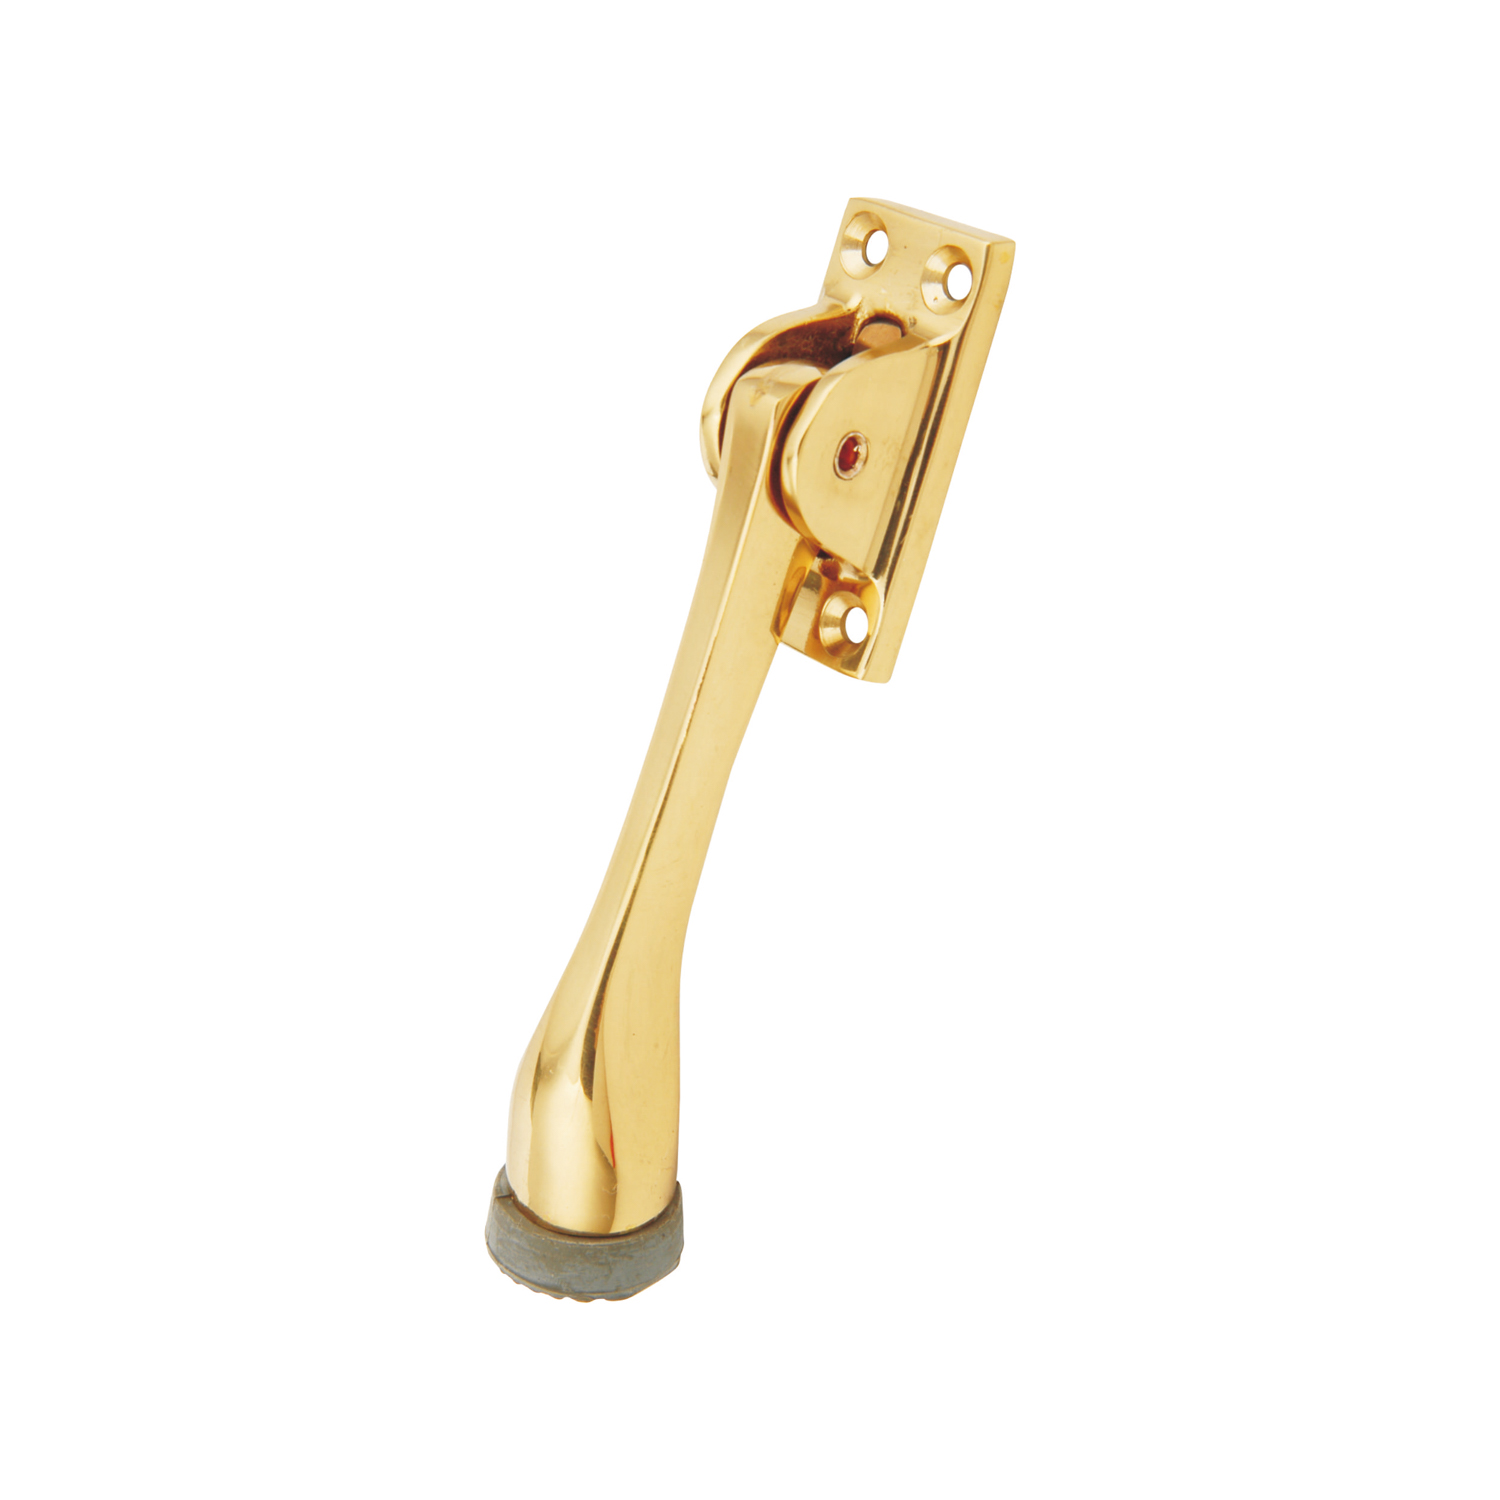
Choosing between drywall and baseboard mounting determines the long-term durability of your installation. You must evaluate the structural integrity of your site before drilling any holes. Baseboards consistently offer reliable, solid wood backing. Carpenters nail baseboards directly into structural wall studs and hidden floor plates. This dense wooden foundation reduces structural risks immensely. The stopper will not punch through the wall during a forceful door swing. Baseboard mounting remains the safest choice for high-traffic environments.
Drywall realities present a completely different set of challenges. Sometimes design requirements force you to mount the hardware directly on the wall above the baseboard. When you encounter this situation, locating a hidden wooden stud becomes absolutely necessary. You cannot rely on fragile drywall plaster to absorb kinetic energy. A heavy solid-wood door carries significant force. If a stud remains absent in your preferred location, you face a non-negotiable requirement. You must utilize high-shear-strength drywall anchors. Heavy-duty toggle bolts work best. Their metal wings open behind the drywall to distribute impact forces across a wider surface area.
Your specific hardware selection also dictates mounting requirements. Commercial-grade components demand robust structural anchoring. Heavy metal fixtures require deep screws biting directly into wood framing. Conversely, lightweight zinc models might survive on standard wall anchors for lightly used closet doors. Evaluate your hardware carefully to avoid tearing fixtures out of the wall.
Mounting Location Comparison Guide
| Mounting Surface | Structural Integrity | Required Hardware | Best Application Scenario |
|---|---|---|---|
| Solid Baseboard | High (Backed by framing) | Standard wood screws | Heavy doors, high-traffic commercial spaces, standard residential interiors. |
| Drywall (On Stud) | High (Direct wood anchor) | Long wood screws (2+ inches) | Handle-level mounting, situations where baseboards are too thin or fragile. |
| Drywall (No Stud) | Low to Moderate | Toggle bolts or Molly bolts | Lightweight hollow-core doors, low-traffic areas, exact aesthetic positioning. |
Magnetic mechanisms offer excellent convenience for busy households. They hold the door open automatically, making it easy to carry groceries or move furniture. However, they demand absolute precision during installation. The parallel alignment requirement remains their biggest hurdle. A magnetic wall mounted door stop fails if the door strike plate hits the wall unit at an angle. The magnets need full surface contact to generate maximum holding power. Even a slight angle reduces this magnetic grip dramatically.
Establishing the perfect angle requires patience and visual testing. We guide installers to follow a specific physical process rather than relying on tape measures alone. First, open the door fully. Let it rest against the wall naturally. Assemble the magnetic unit and hold it firmly between the door and the wall. The actual wall angle and door angle must dictate the final placement. Houses settle over time, and walls rarely remain perfectly square. Mark your screw holes only after verifying flush magnetic contact.
You must also account for catch mechanism clearance. Many premium magnetic units feature spring-loaded catches inside the housing. These moving parts require ample floor clearance to operate smoothly. You also need precise vertical alignment. The internal spring mechanism must engage the strike plate without binding. If you place the unit too low, the mechanism might scrape your hardwood floors. If you misalign it vertically, the metal edges will scratch your door face over time.
Even experienced installers occasionally make errors during hardware mounting. We frequently observe three major installation mistakes in residential projects. Avoiding these specific pitfalls ensures a secure, lasting mount.
Evaluating your room layout is only half the battle. You must also evaluate your hardware options carefully. Material lifespan plays a massive role in long-term reliability. We always contrast heavy metal fixtures against cheaper alternatives. Solid metal fixtures handle decades of daily abuse. They typically feature thick, replaceable rubber bumpers. In contrast, single-piece plastic units crack easily under repeated pressure. They rarely survive a heavy door slam caused by a sudden draft.
Aesthetic preferences often clash directly with functional reality. Low-profile designs look fantastic in modern minimalist homes. They blend into the baseboard seamlessly. However, they frequently fail to provide enough clearance for oversized lever handles. You must balance visual appeal against mechanical necessity. A short, sleek door stopper becomes entirely useless if the door handle still manages to punch through the drywall.
Before finalizing any hardware purchase, we advise running through a final pre-purchase checklist. This simple process prevents unnecessary returns and installation delays.
Successful installation ultimately comes down to precise alignment and appropriate hardware selection. You must match the stopper's length to your door handle's maximum depth. Furthermore, aligning the physical impact point with the door's structural frame remains absolutely crucial for longevity. Following these fundamental rules prevents unnecessary damage to both doors and walls. You eliminate the costly risks associated with blind drilling and guesswork.
Take practical next steps before picking up your power drill. Apply a piece of painter's tape to mark your proposed mounting spot safely. Swing the door open gently to test the exact contact point. Check the vertical alignment visually from multiple angles in the room. Verify handle clearance one last time. Once everything lines up perfectly on the tape, you can confidently drill your pilot holes. Protect your interior investment by taking these final, careful precautions.
A: If you choose a bottom-rail mount, installers typically position it 1.5 to 2.5 inches above the floor. This exact height ensures the bumper hits the solid bottom wooden frame of the door. It also provides enough vertical height to clear any floor transitions, thick rugs, or carpet padding.
A: Yes, but you must proceed with caution. While possible with heavy-duty drywall anchors like toggle bolts or molly bolts, it remains highly risky for heavy, high-traffic doors. Stud mounting or baseboard mounting remains the authoritative recommendation for guaranteed long-term stability.
A: Floor-mounted dome stops or hinge-pin stops serve as excellent fallback options. Dome stops drill directly into the floor, avoiding fragile walls entirely. Hinge-pin stops sit discreetly on the door hinges. However, hinge stops can occasionally stress door frames if pushed too forcefully.