
Views: 0 Author: Site Editor Publish Time: 2026-07-29 Origin: Site


Mudrooms, bathrooms, and commercial cloakrooms often suffer from a common architectural oversight. Property owners invest heavily in premium hardware but fail to calculate the spatial requirements for actual garment drape and user ergonomics. This creates a direct conflict between storage density and ease of use. Maximizing the number of hanging points seems efficient on paper. In reality, poor spacing renders high-capacity layouts functionally useless. Overlapping garments cause fabric damage, restrict airflow, and accelerate hardware failure.
You must balance the desire for maximum capacity with the physical realities of garment volume. A well-planned installation framework calculates optimal spacing based on garment type, hardware projection, and structural wall constraints. Proper planning ensures your hardware investment delivers both aesthetic value and reliable functional performance.
The Golden Ratio of Spacing: Standard spacing requires 4 to 6 inches for light items and 8 to 12 inches for heavy winter outerwear to balance capacity with accessibility.
Hardware Projection Matters: The depth (projection) of a hook dictates how garments hang; deeper hooks require wider lateral spacing to prevent bunching.
Staggered Layouts Maximize Density: Utilizing a high-low staggered installation can increase overall storage capacity by up to 40% without compromising ease of use.
Structural Integrity Precedes Aesthetics: Spacing must ultimately align with wall studs or require continuous structural backing to support the cumulative weight of loaded hardware.
A successful hardware layout meets strict functional criteria. Users should experience zero garment overlap. Items must allow for easy one-handed retrieval. Damp garments require adequate airflow for proper drying. Achieving these success criteria requires understanding the physical footprint of hanging textiles. When you walk onto a job site, the first thing you notice is how space gets utilized. Wall real estate is finite. You cannot simply pack hardware tightly and expect good results. The physical dimensions of the items you plan to hang dictate the layout.
Consider the actual volume of a winter parka. It does not sit flat against the wall. It balloons outward and expands laterally. If you ignore this physical reality, you end up with a tangled mess of sleeves and hoods. We see this constantly in poorly planned mudrooms. The homeowner wants ten hanging spots on a four-foot wall. The math simply does not work. You have to account for the drape, the flare, and the thickness of the material.
Spatial planning involves a clear point of diminishing returns. Adding more hardware to a fixed wall space eventually reduces functional storage capacity. Items become too compressed to access easily. This compression creates the clutter threshold. Fabric friction increases when garments press tightly against one another. High fabric friction and dense volume drastically reduce retrieval speed. Users struggle to remove a single item without dislodging adjacent garments.
Think about a standard closet rod. When you pack hangers too tightly, you cannot slide them to see what you have. The same principle applies to wall-mounted hardware. Once you cross the clutter threshold, the system breaks down. People stop using the hardware properly. They throw coats over the top of other coats. They leave items on the floor. The entire purpose of the storage system fails because the spacing was too aggressive.
Commercial storage bay and column principles apply directly to wall organization. Improper spacing intervals lead to dead zones and lost capacity. You must calculate the maximum number of active, non-overlapping storage positions per linear foot of wall space. Divide the total usable linear inches by the required garment width. A 48-inch wall span divided by a 10-inch winter coat footprint yields four highly functional storage positions. Forcing six positions into that same span guarantees functional failure.
Let us break down the math for a typical residential mudroom. You have a 60-inch span above a bench. You want to hang heavy winter gear. You need 10 inches per item. That gives you six positions. If you try to squeeze in eight positions, you reduce the spacing to 7.5 inches. That 2.5-inch difference ruins the functionality. The coats will overlap. The zippers will catch on each other. Stick to the calculated storage positions based on the actual garment footprint.
High-traffic environments demand rapid retrieval and high user satisfaction. Optimized spacing of a premium Brass Hook array prevents physical bottlenecks. Users can quickly identify and retrieve their belongings without fighting through dense layers of fabric. Proper spacing also reduces fabric wear in commercial settings. Garments hang freely instead of grinding against neighboring zippers and abrasive textiles.
In a restaurant or theater cloakroom, speed is everything. The attendant needs to grab the correct coat instantly. If the hardware is spaced too tightly, the attendant wastes time separating garments. This creates a line at the counter. It frustrates customers. We always recommend wider spacing in commercial applications. The slight loss in total capacity is heavily outweighed by the increase in operational speed and the reduction in garment damage.
Spacing directly impacts drying times for damp items. This becomes critical when configuring a layout in high-humidity bathroom environments. Wet towels and damp jackets require ambient air circulation to evaporate moisture. Compressed fabrics trap humidity, leading to mildew and unpleasant odors. Generous spacing allows air to circulate around the entire circumference of the hanging textile.
Bathrooms present a unique challenge. You are dealing with thick terry cloth towels that hold a massive amount of water. If you bunch two wet towels together, they will stay damp for days. You need at least 8 inches of clear space between towels to allow for proper evaporation. The ambient air needs to move between the folds of the fabric. Do not compromise on spacing in wet environments. The resulting mildew smell will ruin the space.
Exact measurement frameworks depend entirely on the intended use case. Different garments demand different spatial allowances. Applying a universal spacing measurement across all applications guarantees suboptimal performance. You have to tailor the layout to the specific items you intend to store. A one-size-fits-all approach never works in custom carpentry or hardware installation.
We categorize spacing requirements based on the bulk and weight of the garments. Heavy winter gear requires the most space. Light summer jackets require less. Towels fall somewhere in the middle due to their moisture retention. You must identify the primary use case for the wall space before you mark a single drill hole.
Heavy winter gear requires significant lateral space. Parkas, wool coats, and insulated jackets possess substantial bulk. Recommend a minimum of 8 to 12 inches on center when installing a Coat Hook. This spacing accommodates thick shoulder profiles and prevents sleeves from tangling. Vertical clearance also matters. Mount hardware a minimum of 40 to 48 inches from the floor or bench seating area to keep long hems clean.
When dealing with heavy coats, you also have to consider the collar. Thick collars push the garment away from the wall. This outward projection increases the lateral footprint. If you space the hardware at 6 inches, the collars will smash together. The coats will push each other off the wall. Stick to the 8 to 12-inch rule for winter gear. It looks sparse when empty, but it functions perfectly when loaded.
Towels, robes, and lighter garments require moderate spacing. Recommend a minimum of 6 to 9 inches on center for a Robe Hook. This distance allows for natural fabric flaring. It provides enough separation for efficient moisture evaporation in humid bathrooms. Tighter spacing causes wet towels to overlap, drastically increasing drying times.
Robes are long and tend to flare at the bottom. If you mount the hardware too low, the robe drags on the floor. We typically mount bathroom hardware at 60 to 70 inches from the finished floor. This height keeps the fabric clean and places the hardware at a comfortable ergonomic height for most adults. Always measure the longest robe in the house before finalizing the vertical placement.
Low-volume, low-weight items allow for condensed spacing guidelines. Keys, dog leashes, and hats require minimal lateral clearance. Space small hardware 2 to 4 inches on center. This tight configuration maximizes density for items that do not flare or retain moisture.
You can pack accessory hardware tightly because the items hang straight down. A set of keys has almost no lateral footprint. A dog leash hangs in a straight vertical line. You can easily fit ten accessory spots in a 30-inch span. Just make sure you leave enough room for fingers to grasp the items without knocking adjacent keys off the wall.
Garment/Item Type | Recommended On-Center Spacing | Vertical Clearance (Min) | Primary Consideration |
|---|---|---|---|
Heavy Winter Coats | 8 - 12 inches | 40 - 48 inches | Fabric bulk and shoulder width |
Towels & Bathrobes | 6 - 9 inches | 60 - 70 inches | Moisture evaporation and airflow |
Light Jackets & Shirts | 4 - 6 inches | 36 - 40 inches | Easy one-handed retrieval |
Keys & Small Accessories | 2 - 4 inches | User preference | Maximum storage density |
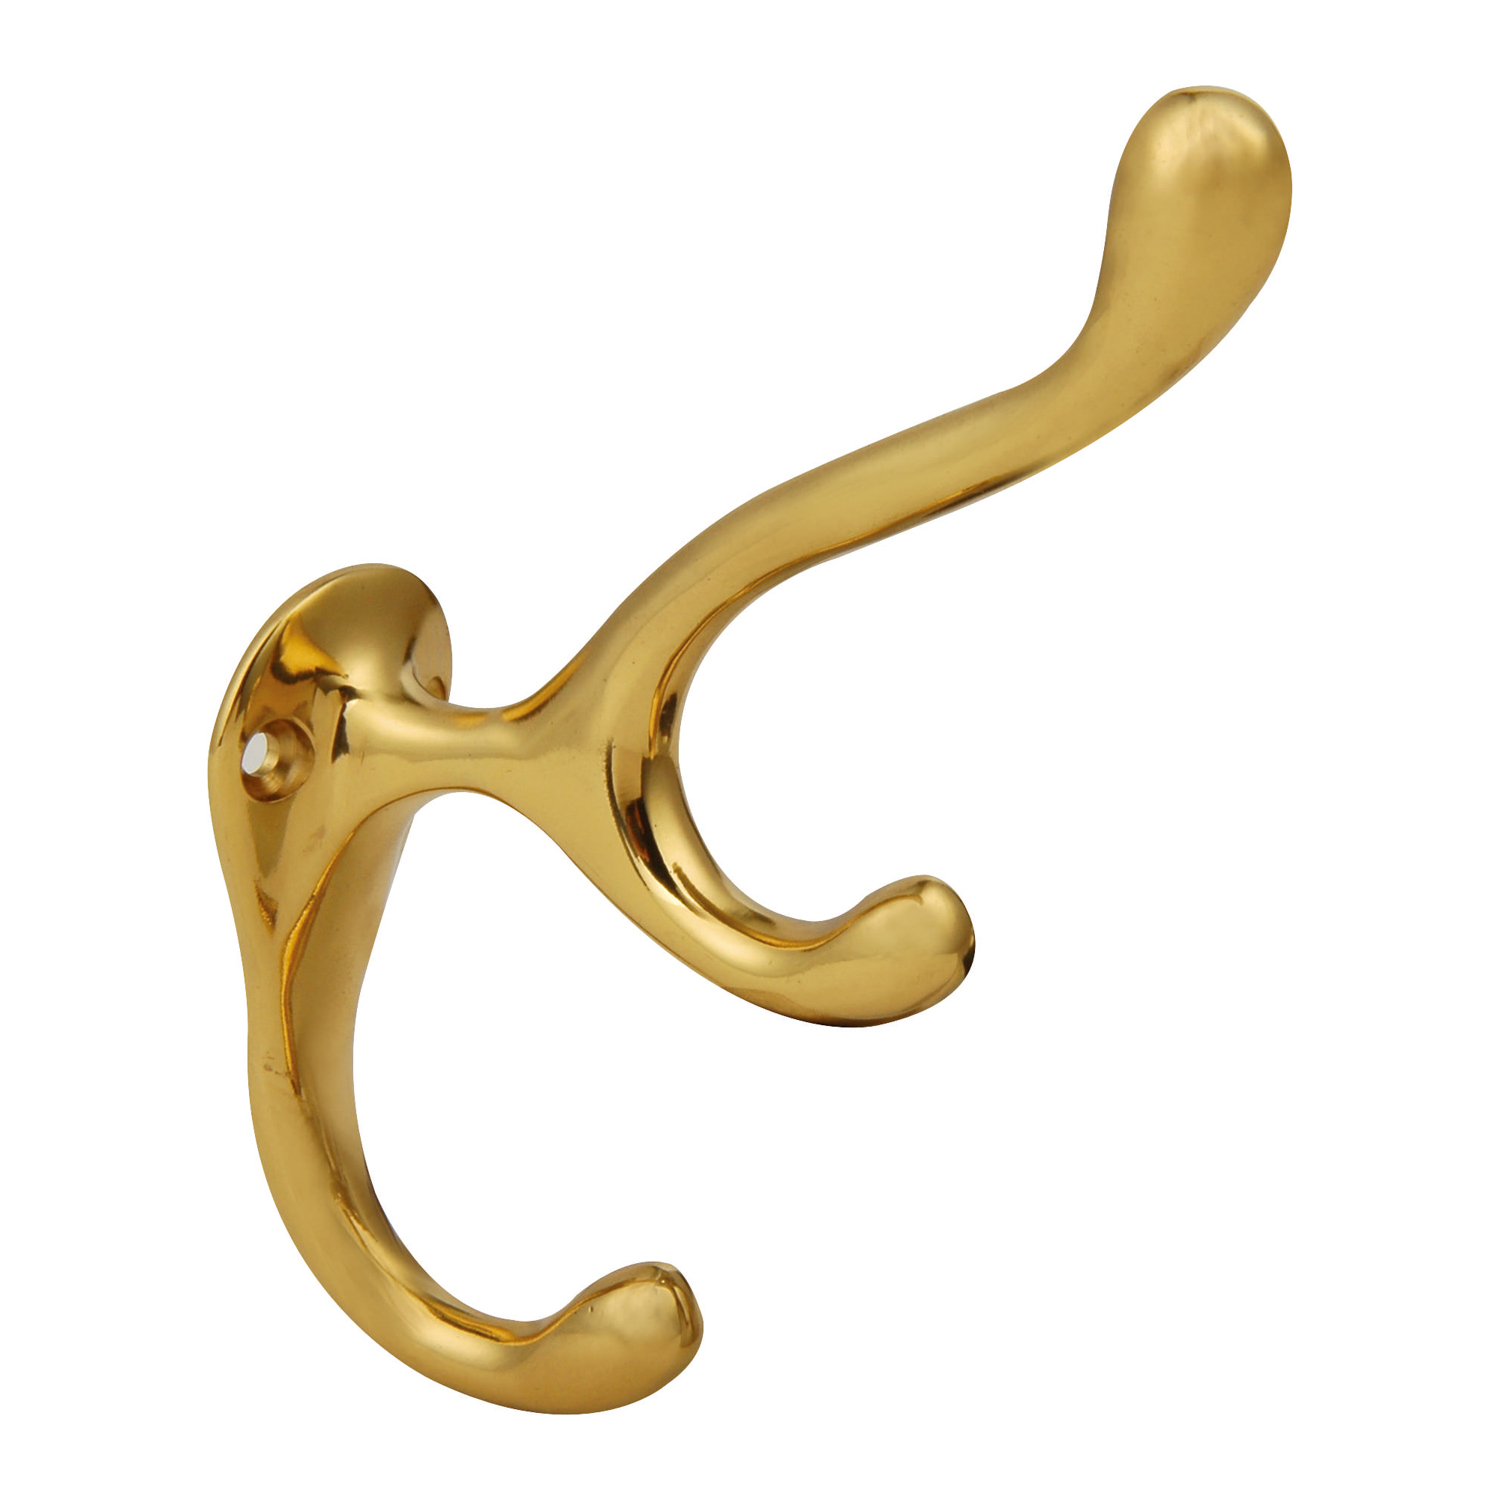
The physical design of the hardware dictates the necessary installation layout. You must analyze hardware features to predict functional outcomes. Projection depth and prong configuration change how garments interact with the wall. You cannot treat all hardware equally. A massive cast piece requires a completely different layout than a minimalist machined cylinder.
We always measure the hardware before we mark the wall. We look at the backplate width. We measure the projection. We evaluate the angle of the prongs. These physical dimensions dictate the minimum spacing requirements. If the backplate is 3 inches wide, you cannot space them 4 inches on center. The hardware would practically touch. You have to factor the hardware dimensions into your overall layout calculations.
Projection measures the distance hardware extends from the wall. This depth affects the center of gravity and how garments fall. A deeper projection allows for thicker garments with heavy collars. However, deeper hardware requires slightly wider lateral spacing. Garments hanging further from the wall tend to flare outward more prominently, increasing the risk of shoulder-bunching.
Think about the physics of a hanging coat. The further it sits from the wall, the more leverage it exerts on the mounting screws. Deep projection hardware requires robust anchoring. You cannot rely on standard drywall anchors for a piece that projects 4 inches and holds a wet wool coat. The leverage will pull the anchor straight out of the gypsum. You need solid wood blocking or direct stud attachment for deep projection hardware.
Compare the spatial footprint of single-post designs versus double-prong configurations. Double-prong hardware consolidates storage by offering two hanging points on one backplate. You must provide wider on-center spacing between double-prong units to utilize both prongs effectively. Placing double-prong units too close together renders the inner prongs inaccessible.
Double-prong units are great for families. You can hang a coat on the top prong and a hat on the bottom. But you have to space them wider than single-post units. If you space double-prong units at 6 inches, the adjacent garments will block access to the lower prongs. We recommend a minimum of 10 inches on center for double-prong units holding winter gear. This spacing allows clear access to all hanging points.
Strictly limited linear wall space requires alternative installation methods. You must explore conceptual trade-offs to maximize capacity without creating a cluttered environment. Sometimes you simply do not have enough linear wall space for a single row of hardware. You have to get creative with the layout to meet the storage requirements.
We use several advanced layout strategies in tight spaces. We stagger the hardware. We utilize corners. We mix hardware sizes. These techniques require careful planning and precise execution. You cannot just eyeball a staggered layout. You have to map it out with tape and verify the clearances before you drill.
The aesthetic debate often pits uniform spacing against variable spacing. Uniform spacing looks clean but wastes space if you hang items of varying sizes. You can design a cohesive visual system when mixing different hardware sizes. Pair a wide unit with a narrower unit on the same wall by establishing structural visual anchors. Align the top edges of the backplates to maintain clean lines even when horizontal spacing distances vary.
We often install a continuous backer board to unify a variable spacing layout. The backer board provides a strong horizontal visual line. This line grounds the hardware and makes the variable spacing look intentional. You can place a large unit for coats, then a small unit for keys, then another large unit. As long as they all sit on the same backer board, the layout looks cohesive and professional.
Installing hardware on two alternating horizontal planes drastically increases capacity. This high-low staggered approach allows garments to nest together. Provide exact vertical offset measurements to ensure success. Maintain 12 to 18 inches of vertical distance between rows. This offset prevents top-tier garments from completely obscuring bottom-tier hardware. Staggering can increase overall storage capacity by up to 40 percent.
The high-low layout works perfectly in family mudrooms. You put the adult coats on the top row. You put the kids' coats on the bottom row. The bottom row needs to sit at roughly 36 to 40 inches from the floor. The top row sits at 60 to 65 inches. You offset the vertical alignment so the top coats fall between the bottom hardware. This nesting effect maximizes density without causing garment overlap.
Installing hardware in inside corners presents unique complexities. Garments pushed deep into a corner become difficult to retrieve. Apply the corner clearance rule. Maintain a minimum of 6 inches from the adjoining wall to the center of the first unit. This clearance ensures the hardware remains usable and prevents garments from crushing against the adjacent drywall.
Corners are notorious dead zones. If you mount hardware too close to the corner, the garment smashes against the adjacent wall. This damages the paint and makes the item hard to grab. We always pull the first unit at least 6 inches away from the inside corner. If we are dealing with bulky winter coats, we pull it 8 inches away. Leave the corner empty. It allows the garments to breathe and prevents wall damage.
Improper spacing and installation carry structural and physical risks. You must address load-bearing requirements before finalizing your layout. A beautiful layout means nothing if it rips out of the wall after a week of use. You have to build a solid foundation for the hardware.
We see failed installations all the time. Homeowners use cheap plastic drywall anchors. They overload the hardware. The anchors pull out, taking a chunk of drywall with them. Then they have to patch the wall, paint it, and start over. Do it right the first time. Understand the structural requirements and use the correct fasteners.
Aesthetic spacing often conflicts with standard wall stud framing. You might want units exactly 8 inches apart, but wall studs sit 16 or 24 inches on center. Relying solely on drywall anchors for heavy garments guarantees eventual failure. Use a continuous mounting rail or backer board as a mitigation strategy. Secure the wood backer board directly into the wall studs. You can then mount the hardware anywhere along the rail, allowing infinite spacing adjustments while maintaining load-bearing integrity.
A backer board solves almost all installation problems. We typically use a 1x4 or 1x6 piece of clear pine or oak. We locate the studs. We screw the backer board into the studs using 2.5-inch cabinet screws. We countersink the screws and plug the holes. Now we have a solid wood surface that spans the entire wall. We can mount the hardware exactly where we want it, regardless of stud location. The backer board takes the shear load and transfers it to the framing.
Heavy, wet garments apply significant shear force to wall-mounted hardware. Overcrowding exacerbates this issue. When items sit too close together, users cannot lift garments straight up. Instead, they pull garments at sharp outward angles to free them from the cluster. This angular pulling increases the leverage against the mounting screws, elevating the risk of tearing the hardware directly from the drywall.
Think about how people actually use a mudroom. They are in a hurry. They grab their coat and yank it off the wall. If the coat is tangled with another coat, they pull harder. This dynamic load puts massive stress on the fasteners. If you only have drywall anchors, that yank will eventually pull the anchor loose. Proper spacing prevents the tangling. Solid blocking or a backer board prevents the fastener failure. You need both elements for a durable installation.
Locate and mark all wall studs using a reliable magnetic stud finder.
Measure and cut your backer board to the desired length.
Secure the backer board to the studs using heavy-duty structural screws.
Mark your calculated spacing intervals on the backer board with a pencil.
Pre-drill the mounting holes to prevent the wood from splitting.
Install the hardware using the provided machine screws or heavy-duty wood screws.
Measure your available linear wall space and locate all structural wall studs before purchasing hardware.
Calculate your required storage positions based on the 8 to 12-inch rule for heavy coats or the 6 to 9-inch rule for lighter items.
Install a solid wood backer board anchored directly to the studs to allow for flexible, load-bearing hardware placement.
Map out your final spacing layout with painter's tape to verify clearances and ergonomic height before drilling any holes.
A: Target 8 to 12 inches on center for heavy coats. This spacing allows for fabric bulk, prevents shoulder bunching, and ensures easy one-handed access without dislodging adjacent garments.
A: Mount them typically 60 to 70 inches from the floor. This height ensures long robes and bath towels do not drag on the ground while remaining within comfortable ergonomic reach for most adults.
A: While possible with heavy-duty toggle anchors, it is highly recommended to anchor directly into a wall stud or solid wood backing for any items weighing over 10 lbs to prevent structural failure.
A: Hooks should be spaced at least 8 inches apart. Mount them a minimum of 40 inches above the bench seating area to provide adequate vertical clearance for hanging coats and bags.
A: Yes, staggering hooks vertically can increase storage density by up to 40%. This layout allows the bulk of garments to nest together vertically rather than pushing against one another laterally.
A: While visually pleasing, functional needs should dictate spacing. You can maintain a consistent visual rhythm by grouping hardware into matching clusters or using a shared backer board to unify varied spacing intervals.